When DIY Battery Replacement Goes Wrong: How a 12-Volt Mistake Destroyed a Scissor Lift
What started as a simple battery swap ended up costing thousands.
We recently got a call from a customer whose scissor lift completely died after they replaced the batteries themselves.
No motion, no beeps, no lights — just silence.
When we arrived at their shop, they mentioned they’d seen a puff of smoke the instant they turned the key.
And as every tech knows — you never let the smoke out.
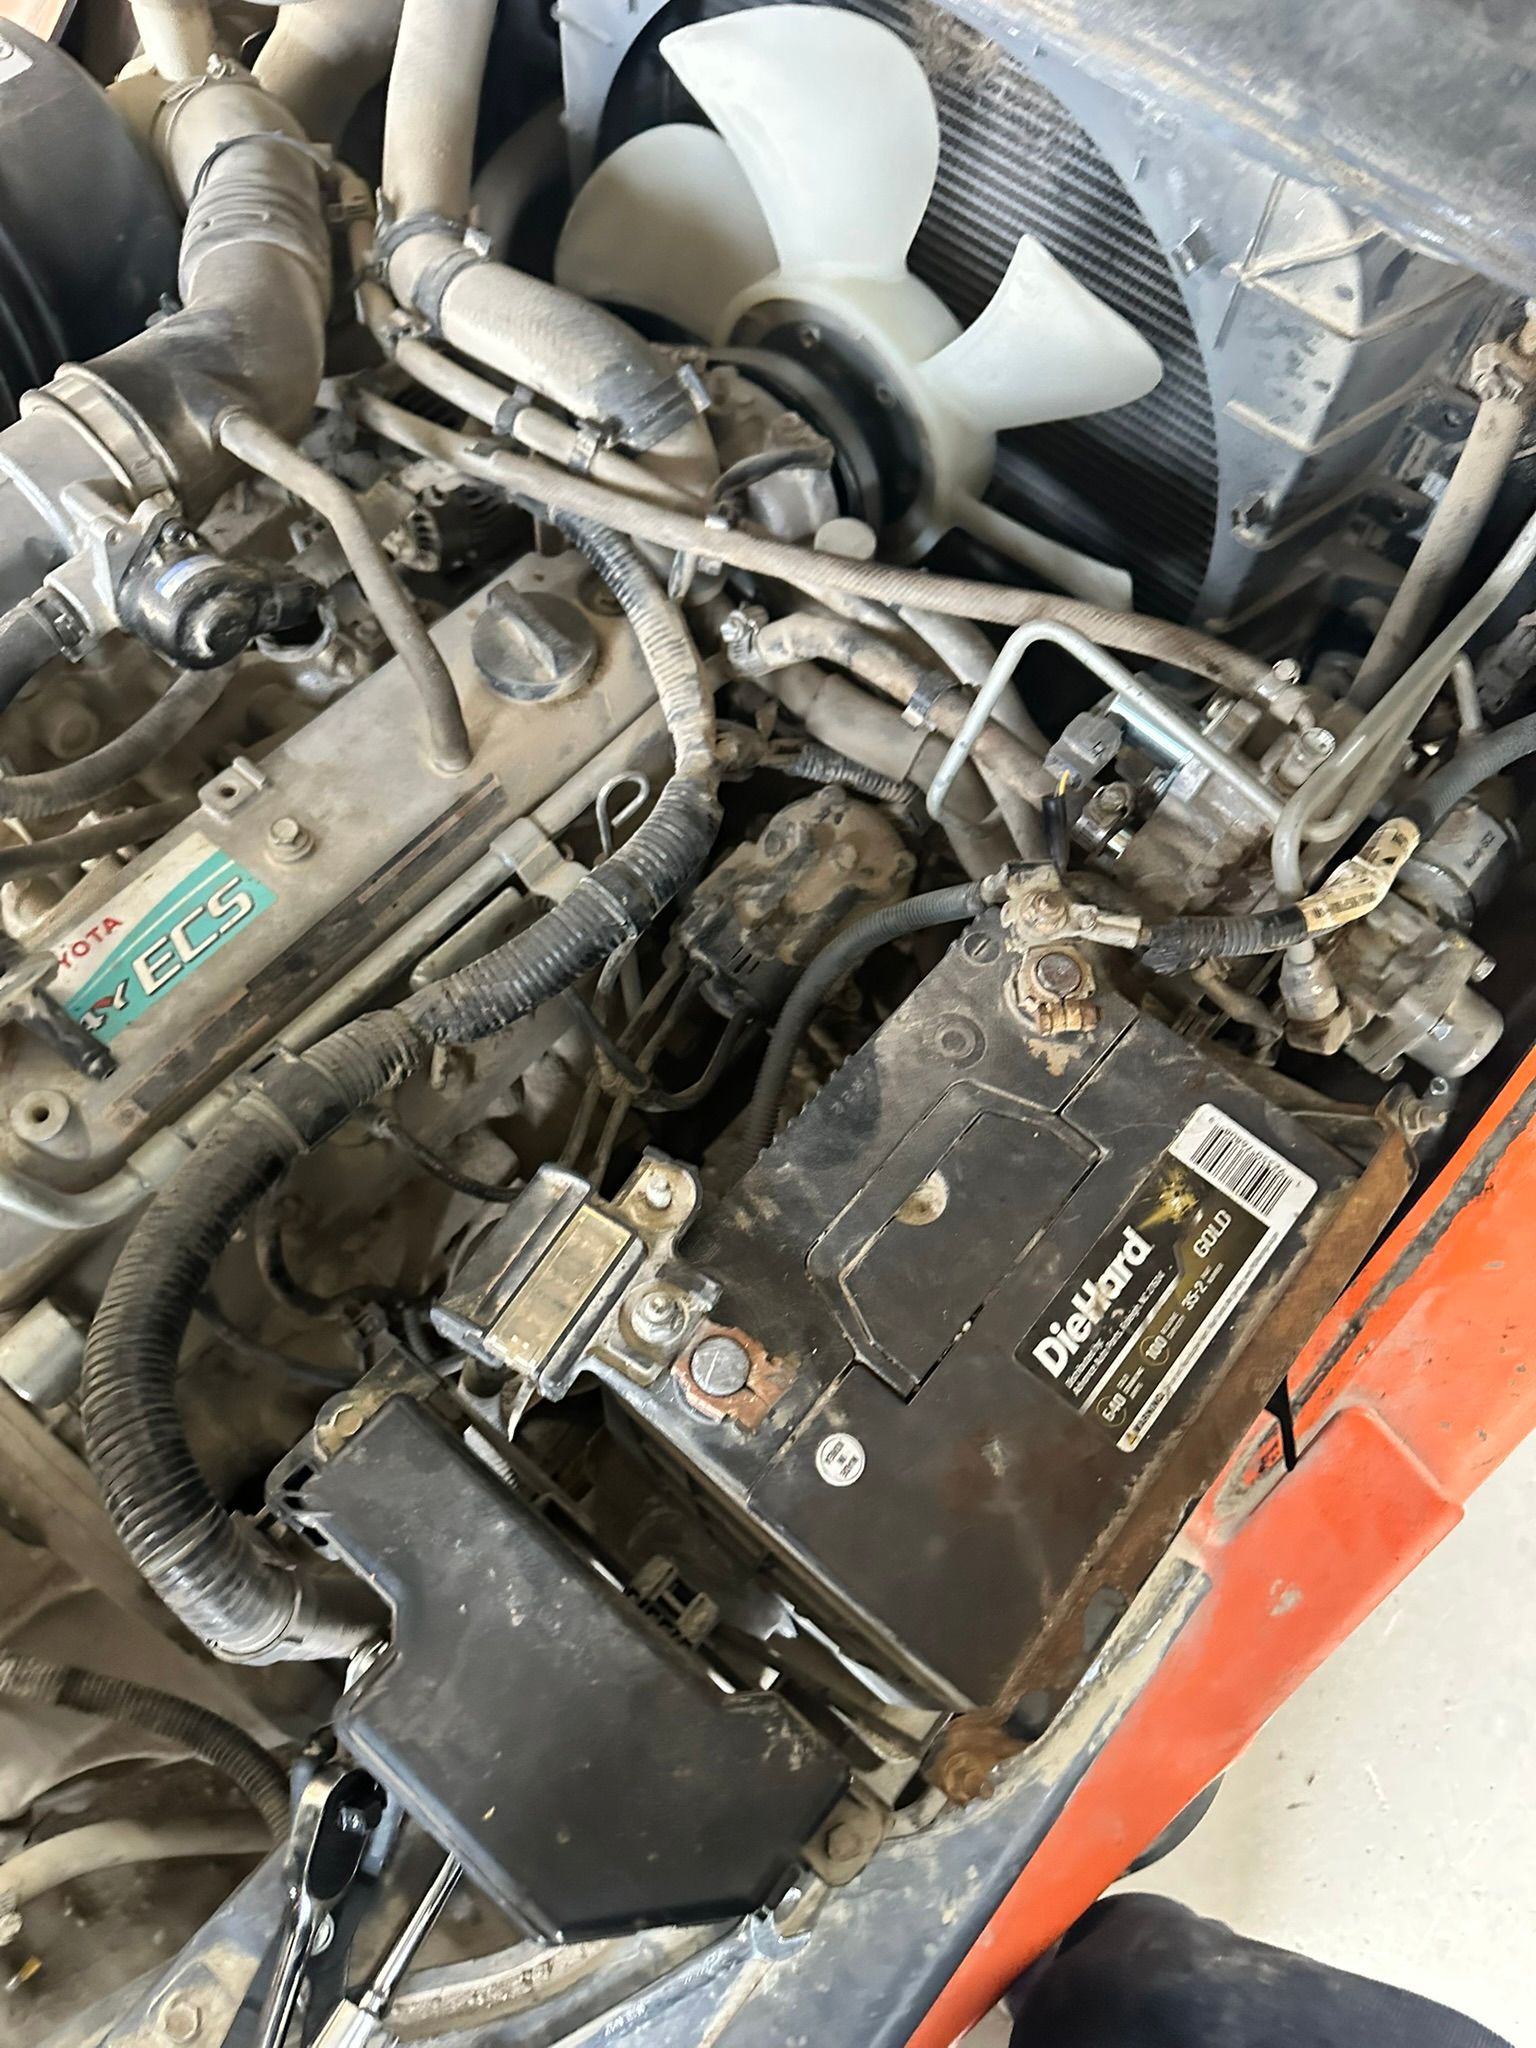
That “little bit of smoke” turned into a major repair. They had accidentally installed 12-volt batteries instead of 6-volt batteries, doubling system voltage from 24 V to 48 V. Externally the lift looked fine, but inside it had cooked the Sevcon motor controller, the platform joystick module, and even a resistor buried deep inside the wiring harness.
1. Scissor Lift Batteries Aren’t All the Same
Most electric scissor lifts — Genie, Skyjack, JLG, MEC, Hy-Brid — use 6-volt deep-cycle batteries wired in series to make a 24-volt pack (4 × 6 V = 24 V).
When 12-volt batteries are substituted, the circuit suddenly sees 48 V — double what every component is built for.
In an electrical system, voltage is pressure. Double the pressure, and something gives.
2. What Happened When They Turned the Key
At the shop we found four brand-new 12-volt batteries installed correctly — just the wrong type.
The moment they keyed on, 48 V surged through the 24 V system. The Sevcon controller, joystick, and pre-charge resistor all failed instantly.
We hooked up a JLG Analyzer to start diagnostics. The first code displayed was:
“NO CAN TO SEVCON.”
That told us the controller wasn’t even responding on the network — a dead brain.
There was no communication between the Sevcon and the platform controller, and in this setup, you can’t see every device on the CAN network at once.
The system polls modules in a set order — lower control, Sevcon, then platform.
If one module drops offline, it breaks communication for all the devices downstream.
Until the Sevcon was replaced, there was no way to test or confirm what else had failed on the network.
After installing and programming a new Sevcon, communication came back — but the analyzer immediately showed a new fault:
“CAN Fault – Platform Controller.”
That confirmed the joystick module had also been damaged by the over-voltage.
3. Why the Sevcon Controller Failed First
The Sevcon motor controller regulates drive, lift, steer, and regenerative braking through solid-state transistors. It’s designed for 22 – 28 V.
At 48 V:
- IGBT transistors shorted instantly.
- Gate drivers and logic circuits burned.
- Feedback lines surged and back-fed into the CAN network.
By the time smoke appeared, it was already beyond repair.
4. The Hidden Resistor That Gave Its Life
Inside the main harness sits a pre-charge resistor that limits inrush current when the Sevcon powers up.
When the system saw 48 V, that resistor sacrificed itself — opening like a fuse and saving the rest of the loom.
Because it’s molded into the harness, the only fix was a complete harness replacement.
5. The Platform Controller Didn’t Escape Either
Once the new Sevcon was talking, the analyzer still flagged a CAN fault with the joystick.
Voltage feedback from the failed Sevcon had already burned the communication chip on the platform board.
That’s why the box was dead — no lights, no clicks, no diagnostics. The network only restored once both controllers were replaced.
6. The Real Cost of a “Simple” Mistake
What could have been a basic battery replacement turned into a full electrical rebuild.
By the time the controllers, harness, and correct 6-volt batteries were installed and calibrated, the repair bill ended up costing roughly six times what replacing the batteries correctly would have cost in the first place.
A quick double-check before connecting power would have saved the customer thousands — and weeks of downtime.
7. Why It Happens So Often
Batteries look the same on the outside, but a 6-volt deep-cycle and a 12-volt starting battery are completely different inside.
Six-volts deliver steady, long-duration current; twelve-volts deliver short, high-amp bursts.
Four × 12 V = 48 V — and that extra voltage destroys sensitive electronics faster than any fuse can react.
8. How to Avoid It
Before you swap batteries:
- Read the voltage label on each case.
- Check the charger output (most scissor lifts use 24 V).
- Verify battery setup from the OEM decal or manual.
- If unsure, call Xtreme Pro Services — we’ll confirm the correct configuration for free.
9. When XPS Replaces Batteries, We Do It Right
We don’t just drop in batteries. We:
- Confirm voltage and series wiring
- Load-test each cell
- Clean and torque all connections
- Replace corroded jumpers
- Equalize the pack with a proper 24 V charger
- Verify CAN communication with OEM softwar
That’s how you prevent “let-the-smoke-out” moments.
10. Lessons Learned
Electrical components fail faster than you can blink. Once over-voltage hits, damage is instant and invisible.
By the time you smell that first wisp of smoke, it’s already gone.
You never let the smoke out — once it’s out, it’s not going back in.
11. Professional Service Prevents Expensive Mistakes
If you don’t have the right diagnostic tools, don’t guess.
Xtreme Pro Services uses factory software like JLG Analyzer and Genie TechPro Link to confirm CAN communication, program new controllers, and bring machines back online safely.
We service Genie, JLG, Skyjack, MEC, and Hy-Brid Lifts throughout North Dakota and Montana — mobile or in-shop.
Don’t Let a Battery Swap Become a Rebuild
701-987-9877
xtremepro.services
Serving Williston, Tioga, Watford City, Sidney, Minot & surrounding areas
Xtreme Pro Services — professional diagnostics, repairs, and rebuilds for every lift in your fleet.